Make your own wooden planter
In this article, WellChild's Helping Hands team takes us through a step-by-step guide on how to make a wooden planter.
Building your own wooden planter needn’t be costly or daunting! You may not think you have the skills or experience needed to build a planter, but by following these simple steps you can create a wonderful planter, ready for your favourite flowers, fruits, or vegetables. You don’t need a shed full of tools either; just some screws, a saw, a tape measure, a drill and a screwdriver! Read the tool section to find a full list.
Here are the steps you should follow for a successful build which are detailed further on in the article:
1. Size – Decide how large you want your planter to be
2. Tools – Get the tools needed for the project ready
3. Materials – Gather the materials needed for the project
4. Cutting – Cut your wood to the right size
5. Assembly – Assemble your planter as per the step-by-step instructions below
6. Drainage – Create your drainage holes so your planter does not get water-logged
7. Finishing – Personalise your planter
1. Size
The size of your planter will depend on 3 factors:
1. How many and what sort of plants or flowers do you want to display? Consider if you need space for deep or wide root systems. Work out what size you need for height, length, and width.
2. Where do you want your planter to go? Think about where you would like the planter to be positioned and consider if you can move it after it has been built. You may need to build the planter in situ if it will be too heavy or too large to move after construction. The last thing you want to do is build your planter in your garage and then realise it won’t fit through your garden gate!
3. How much do you want to spend? We have tried to make our planter as inexpensive as possible by using wood offcuts and getting other materials as cheaply as possible, whether through online auction sites or our local DIY store. Using old pallets can be a great way of reducing costs as sometimes you can pick them up for free. Pallets can be made into many things and are often used for garden projects such as planters. You can even combine different types of wood to fit your needs, as we have done. Gravel boards, decking, and fence posts are all great for building planters!
TOP TIP: Before you start to build, put your design on paper, making notes of dimensions; this will help you when you start building!
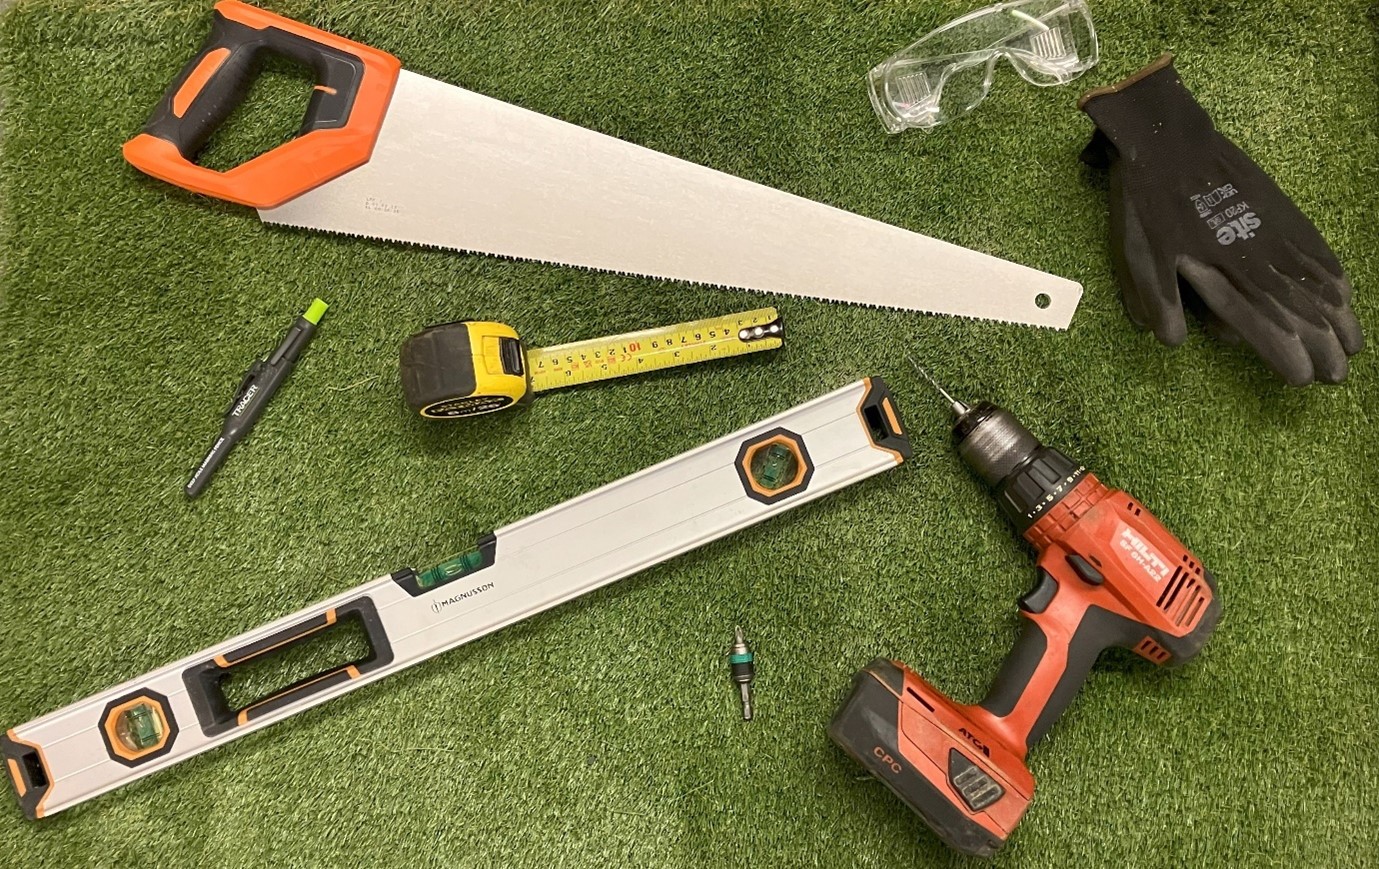
2. Tools
Here are the tools you will need to build your planter. If you don’t have all of them, try asking a family member, friend, or neighbour to borrow theirs!
- Tape measure
- Pencil
- Handsaw
- Small drill bit – approximately 3-4mm for pre-drilling holes in wood
- Larger drill bit – approximately 10-14mm for creating drainage holes in the wood
- Philips-type screwdriver (PZ2)
- Ruler or spirit level
Other tools which may come in handy, although not essential, are a hammer, a carpenter’s square, and a staple gun.
TOP TIP: When gathering your tools, think about Health & Safety! At the very least you should wear safety goggles and gloves to protect yourself from debris and splinters. If you are sensitive to dust, particularly if you’re building the project in a confined space, then you should consider wearing a dust mask as well. These can all be picked up for minimal cost from any DIY store.

3. Materials
Wood
Once you have decided on the size of your planter, you need to work out how much wood you will need.
You will need:
- Wood for the 4 sides
- Wood for the base
- Wood for batons to strengthen the four internal corners and to secure the base
As this planter is moveable, the base is crucial. If you would like to build a permanent planter, which will be placed directly on top of soil or grass then you do not need to add a base.
Screws
The type and number of screws you will need depends on the size of the planter you are making. I always get a few more than I think is needed in case the heads shear (when the head of the screw becomes damaged so badly you can no longer use a screwdriver or impact driver to tighten it). One of the cheapest ways to buy screws, in various sizes, is from B&Q’s pick ‘n’ mix option: A medium bag will be more than enough for this project, and will only cost £6!
The screws used for our planter are:
- 50 x 5 x 100mm screws (for attaching each external corner of your planter)
- 60 x 5 x 80mm screws (for attaching each internal corner baton)
- 25 x 4.5 x 50mm screws (for attaching the two end batons for the base and then the base to these batons)
- 20 x 4 x 5mm screws (for attaching the castor wheels to the base)
TOP TIP: The general rule for choosing the correct length of the screw is that it should enter at least half of the attached wood’s thickness!
Membrane
You may also want to line the inside of the planter with a weed membrane to protect the wood and prolong the life of your planter, although it is not essential. You can also use hessian sacks or even old bin liners instead of a weed membrane, but you will need to make holes in these to allow for drainage.
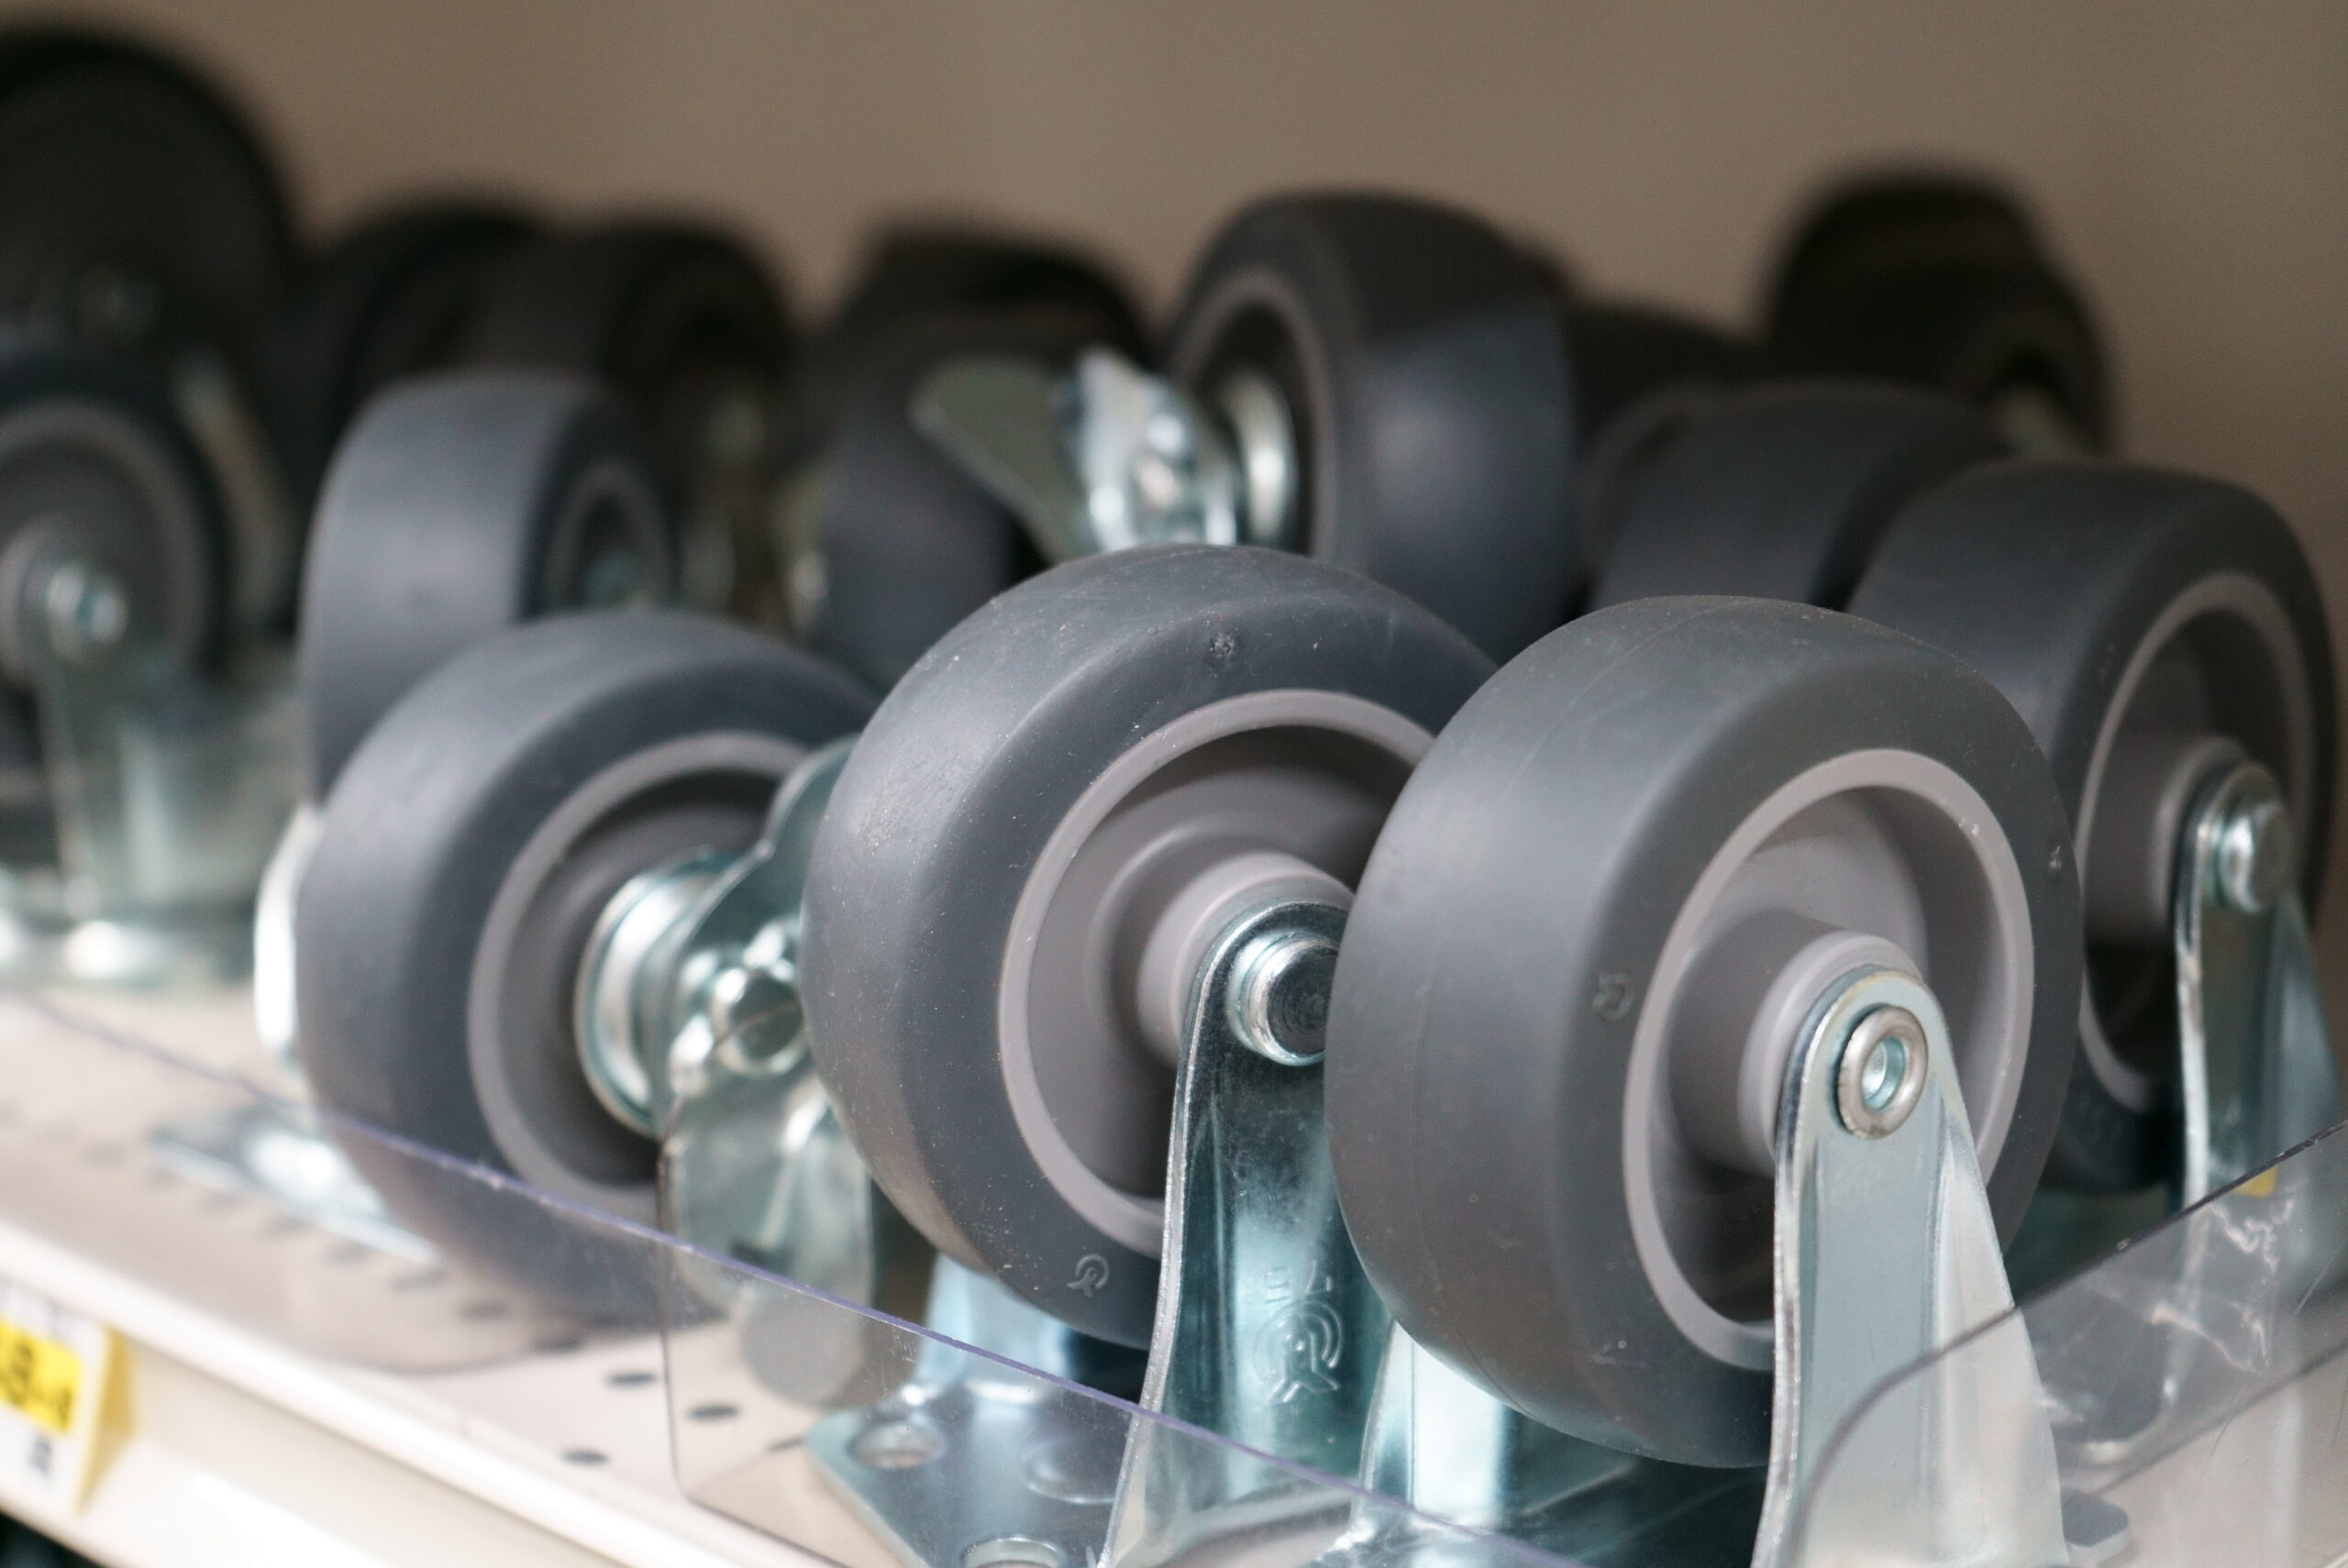
Wheels
Lastly, you should think about whether you want your planter on wheels or timber feet. For our planter, I chose to use caster wheels so it is easier to move around.
The number of wheels you need will depend on the size and weight of the planter; remember to consider how much it will weigh when filled with soil! If you want to build a long wall planter, then you may want to use castor wheels which are the size of those found on shopping trolleys and maybe use more than four, spreading them out evenly under the base to disperse the weight and stop any warping or sagging over time.
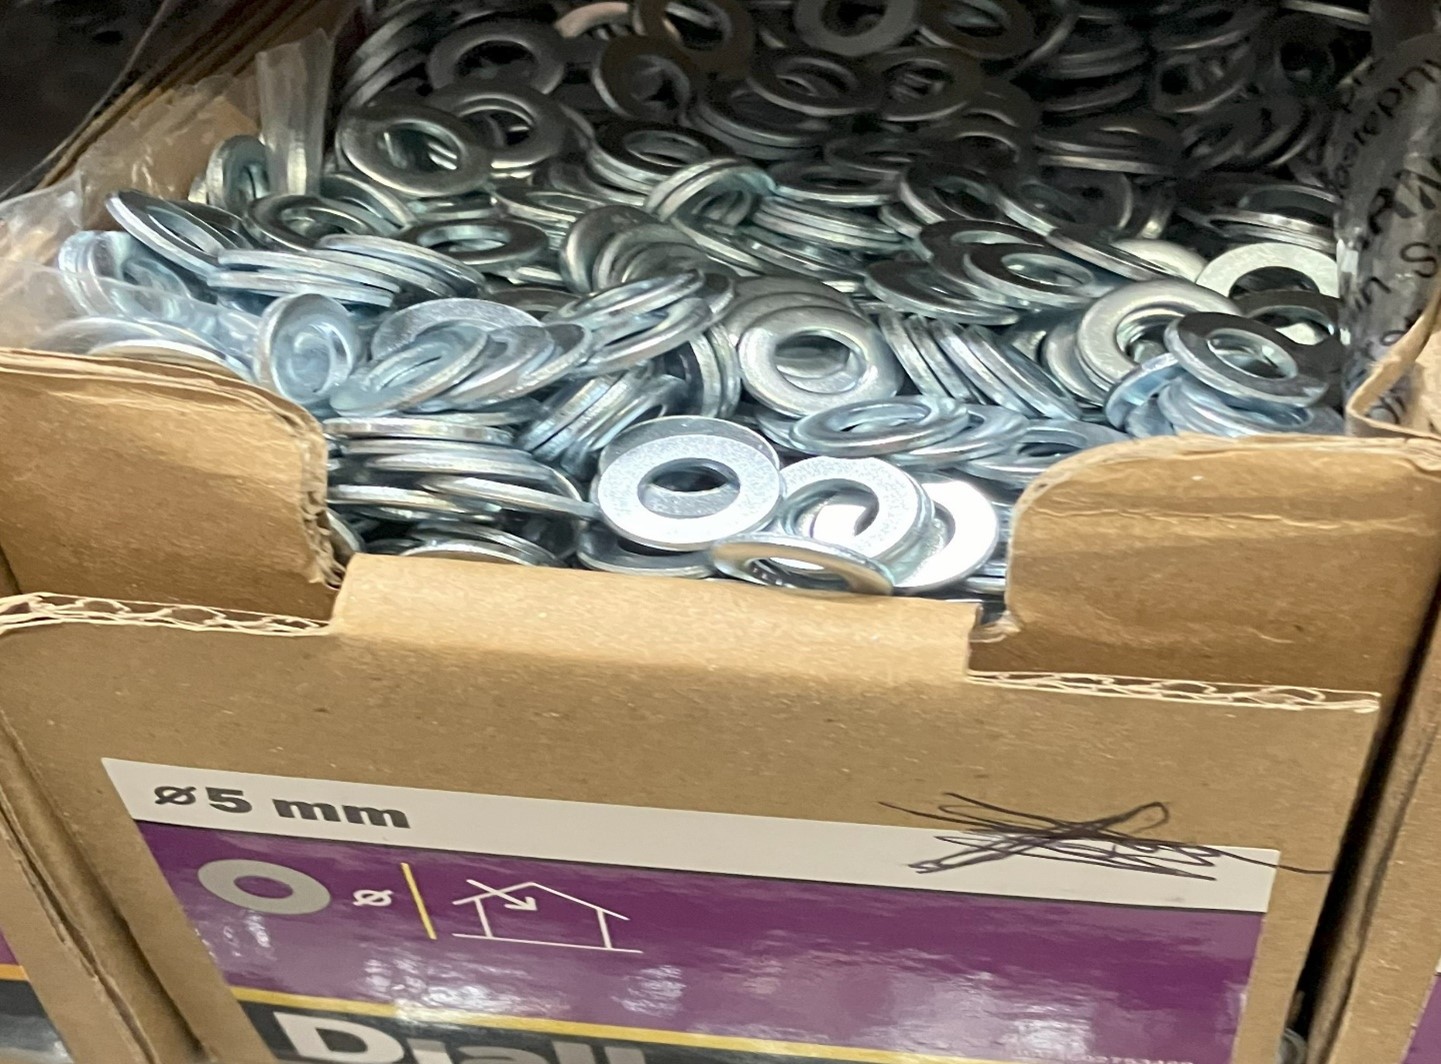
For our planter, I used 4 wheels that were bought on eBay for less than £7. These turn 360 degrees and come pre-drilled with holes for attaching to the wood base. The holes in the wheels are usually larger than the average screw head, so you probably won’t find screws with heads wide enough to fix the wheels in place. Using washers to increase the screw head’s width is a perfect solution, so when you’re doing your pick ‘n’ mix at B&Q add 16-20 washers to the bag! A good size washer to use is 5mm.
4. Cutting
The dimensions of our planter are:
- Length = 815 mm
- Width = 505 mm
- Height = 600 mm
The timber used was:
Timber size: 150mm x 45mm. This will be used for the four sides of my planter, so I needed:
- 8 x lengths at 770mm for the longer sides
- 8 x lengths at 460mm lengths for the shorter sides
- Timber size: 144mm x 27mm: I managed to find a few lengths of unused decking boards and so these will create the base I need:
- Timber size: 45mm x 45mm (2”x2”) for my corner supports: 4 x lengths at 500mm
- Timber size: 25mm x 45mm (2”x”1) batoning timber to support the base: 2 x lengths at 700mm
TOP TIP: Remember the age-old adage: “Measure twice, cut once!”
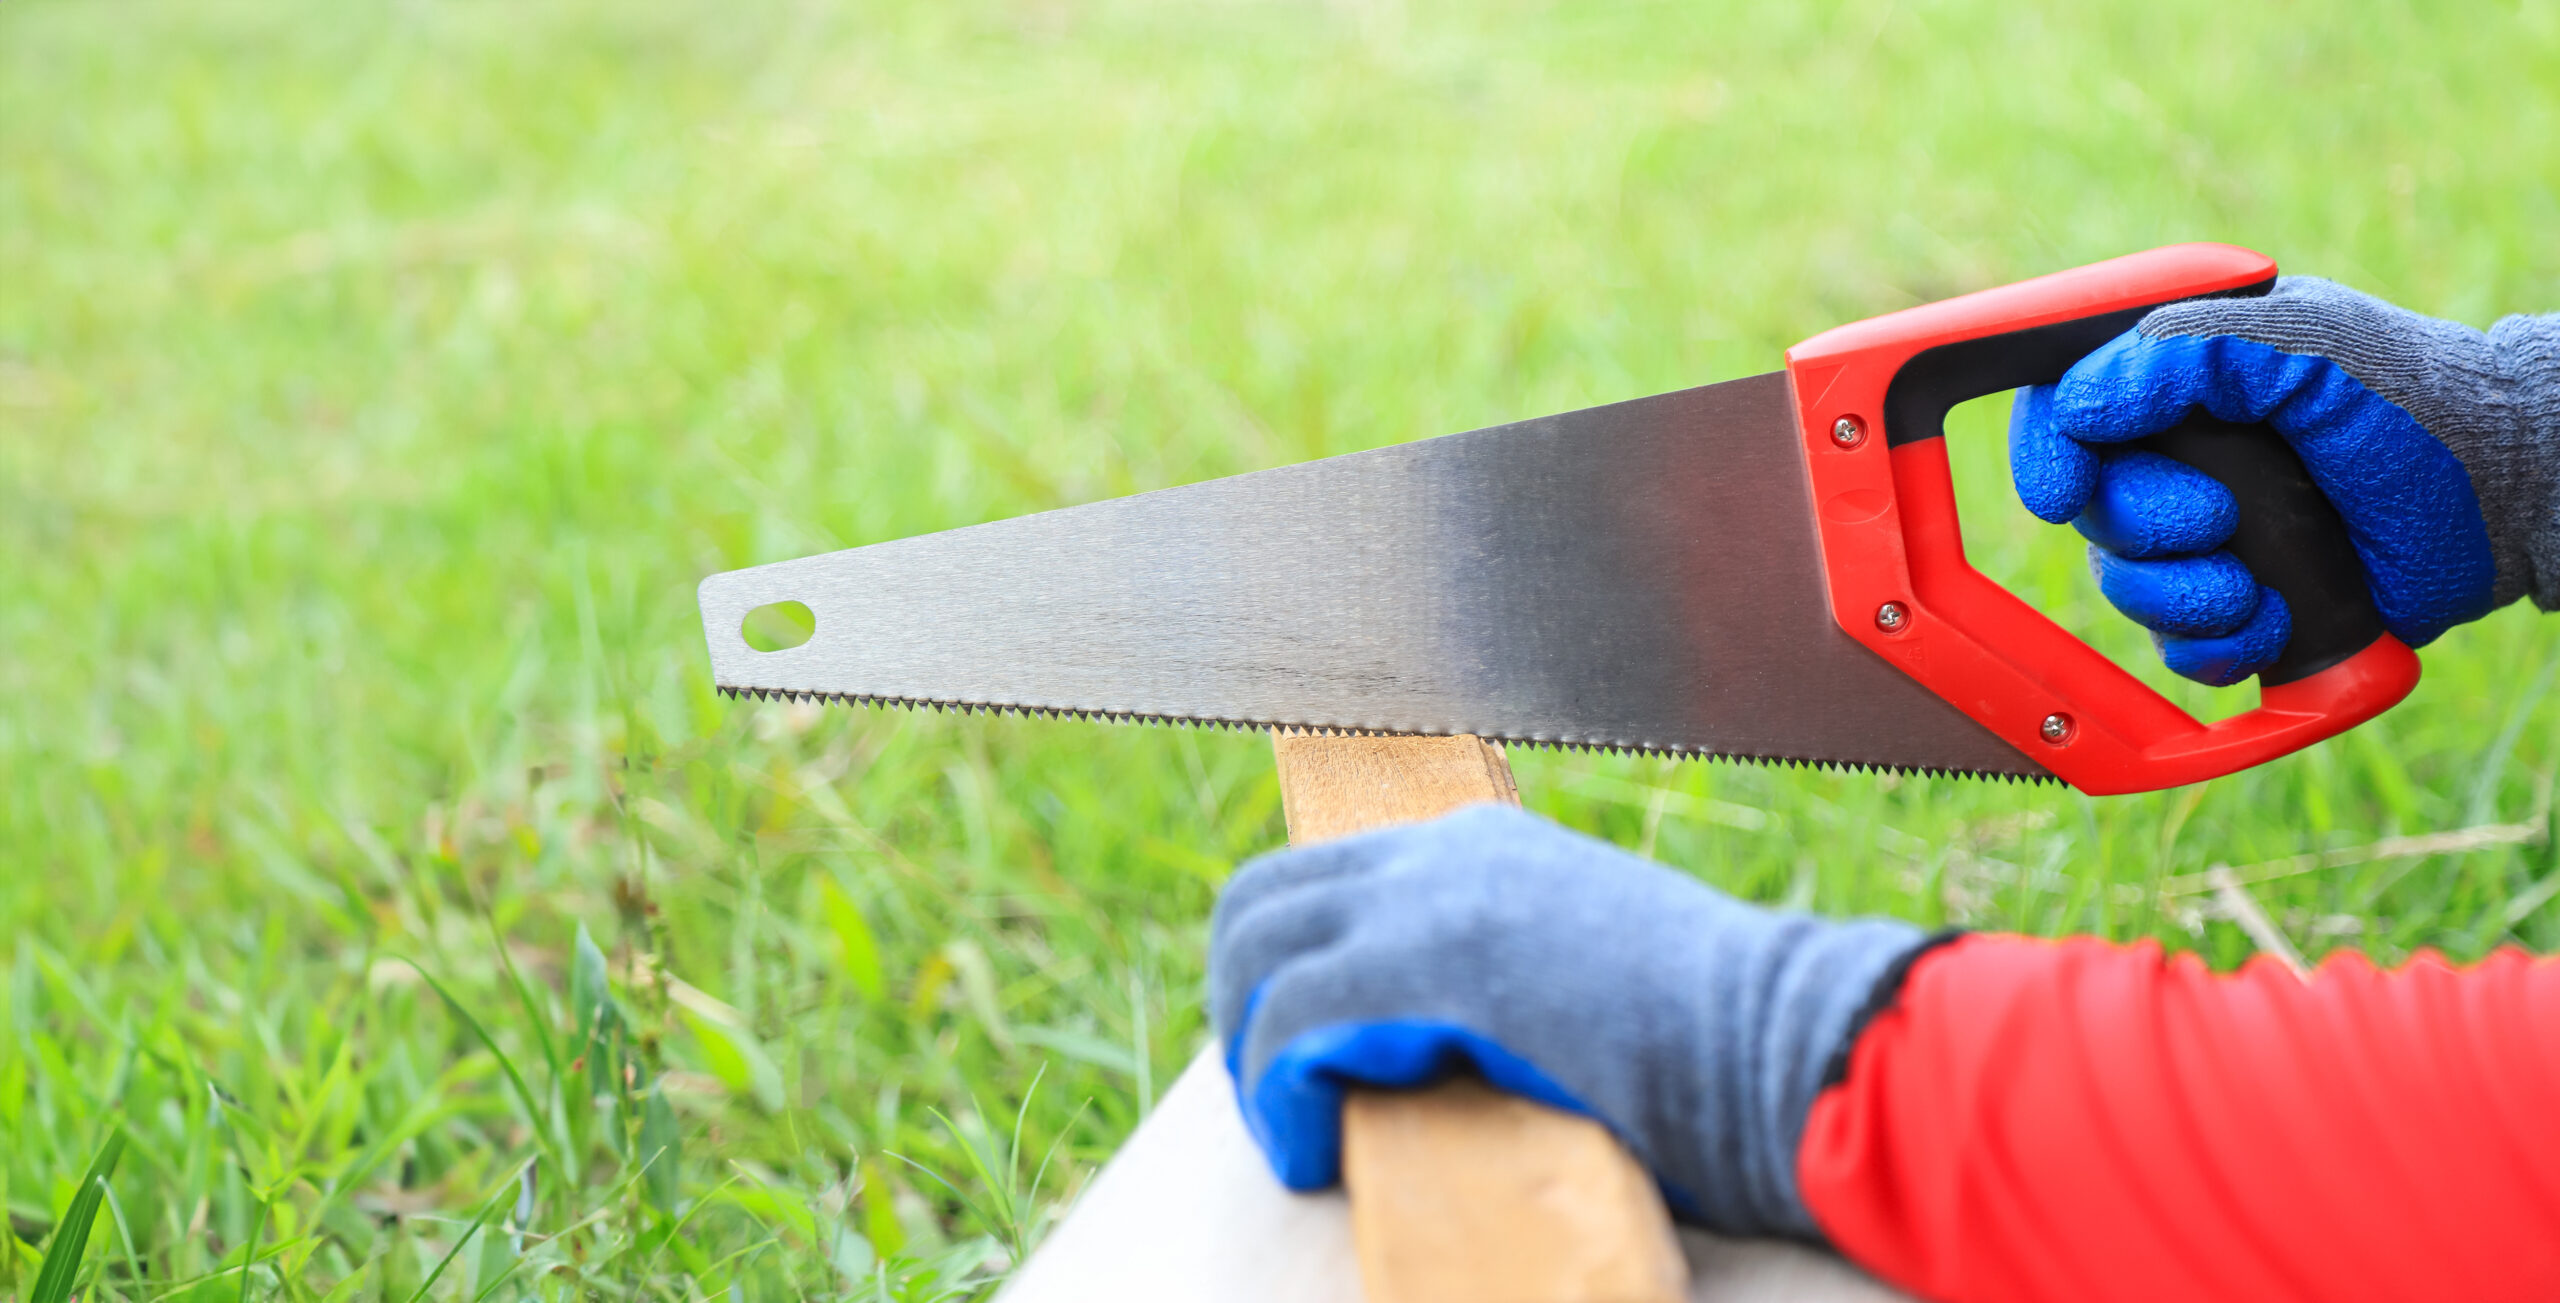
TOP TIP: If you do not have a vice or clamps available to secure the timber while cutting, ask someone to help hold the wood in place. Not only will this help with the cutting accuracy but it will keep you safe too!
Our planter is quite large, so I needed to reinforce the internal corners with thick, sturdy timber. Depending on the size of your planter, you may not need to strengthen it to this degree. I would suggest that for any planter that is up to 300mm Long x 300mm Wide x 300mm Tall, use thinner timber for batoning. Just remember, that whatever the size of your planter, it will be filled with rubble, soil, and compost which will test your planter’s strength, especially when it is wet!
Step 1: Cut all timber to the required length
Using your saw, measure and cut one of the longest lengths of timber. Try to cut the ends as squarely as possible so you get a smooth finish on your planter. Use the first piece as a template to cut the other long pieces the same length.
Continue this process for the shorter lengths and the baseboards.
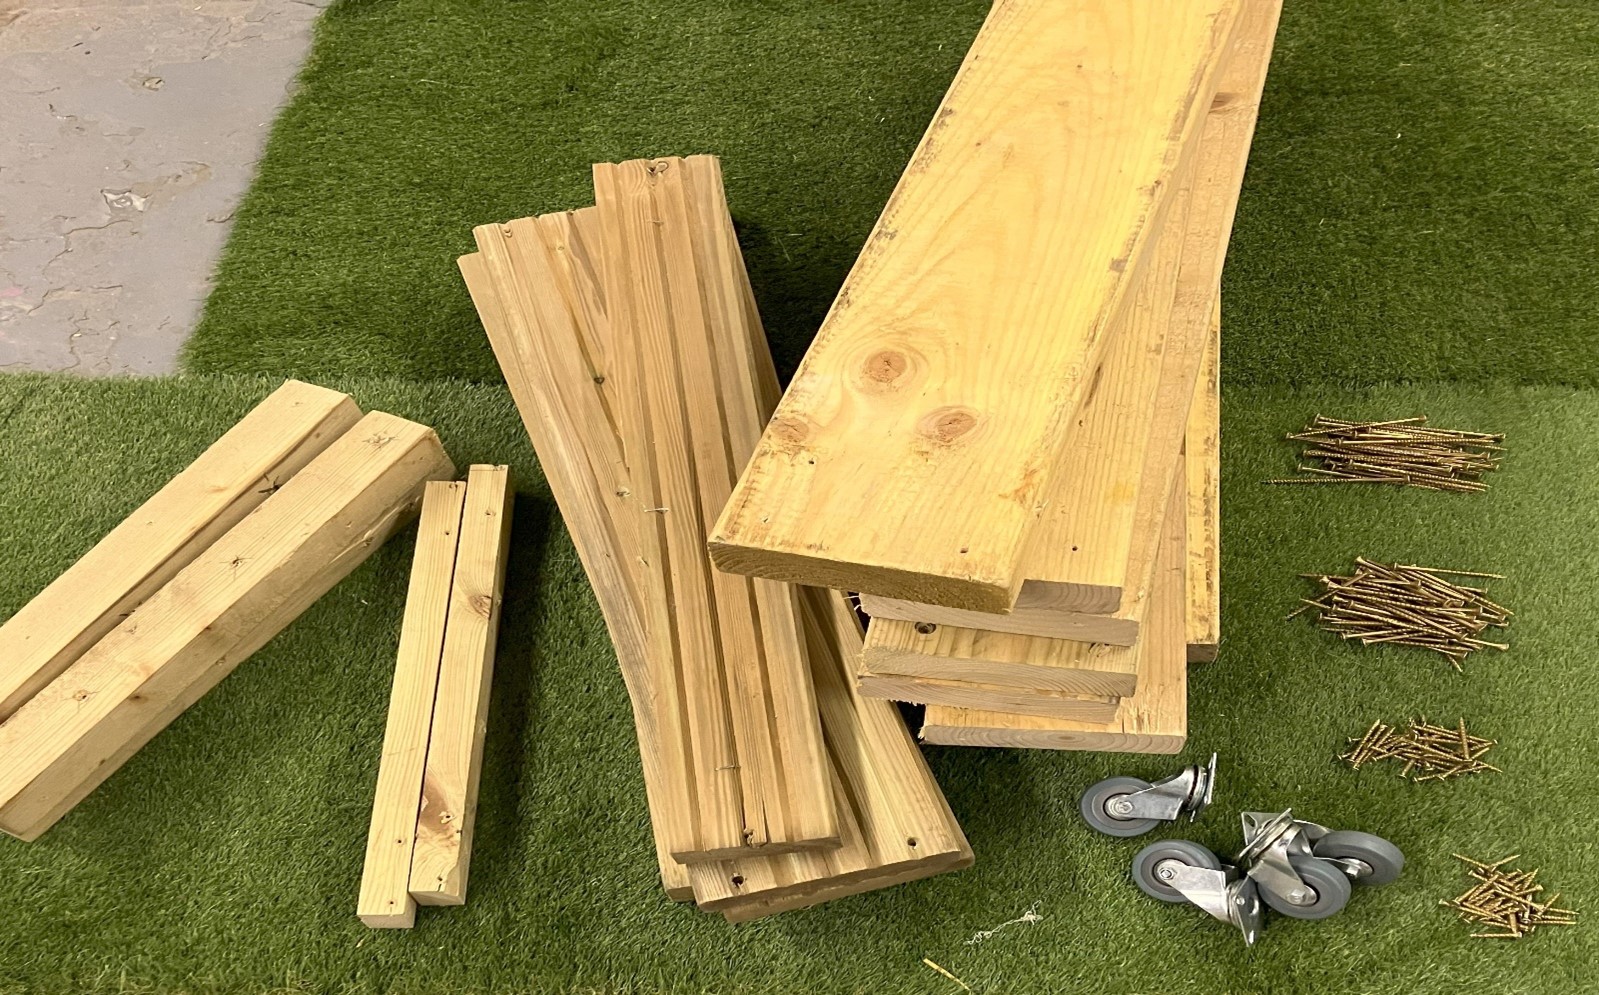
Collect your screws and accessories ready for use and you should end up with a pile like in the photo below:
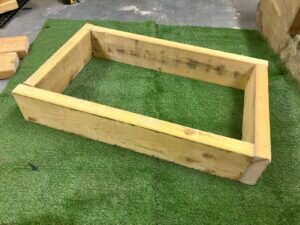
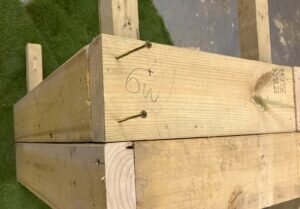
Step 2: Frame assembly
To start constructing the frame of the planter, drill pilot holes to prevent the wood from splitting; then screw the pieces together. If using several pieces of wood to create a tall planter, like ours, it is best to lay out the first level only, then screw it together before attaching the 4 internal batons and screwing together the remaining layers.
By following this method, it’ll be much easier to screw everything else into place whilst making sure the planter remains square:

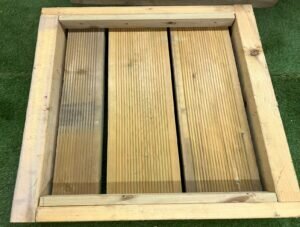
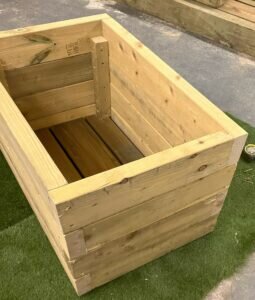
Step 3: Base assembly
Insert the batoning timber where required then simply attach the base material to the top of the batons. As in the photo below. Ensure there are gaps or holes for water drainage to prevent root rot.
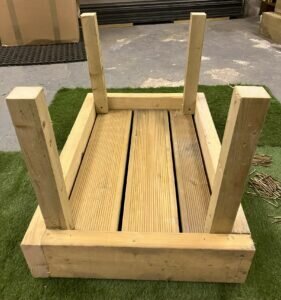
The photo below shows the internal batoning that the base sits on. I have simply screwed a piece to each end of my planter. If you’re creating a super-long planter, you will need to add additional batons for weight distribution. Then simply screw your base timber on top of these batons.
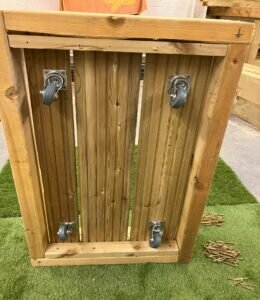
Here’s what the bottom of the planter will look like if you turn it upside-down:
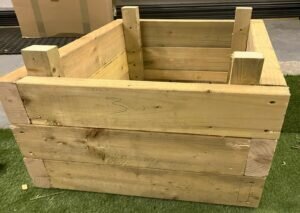
Step 4: Frame assembly – continued
Now you can fit and attach the remaining pieces for your frame:
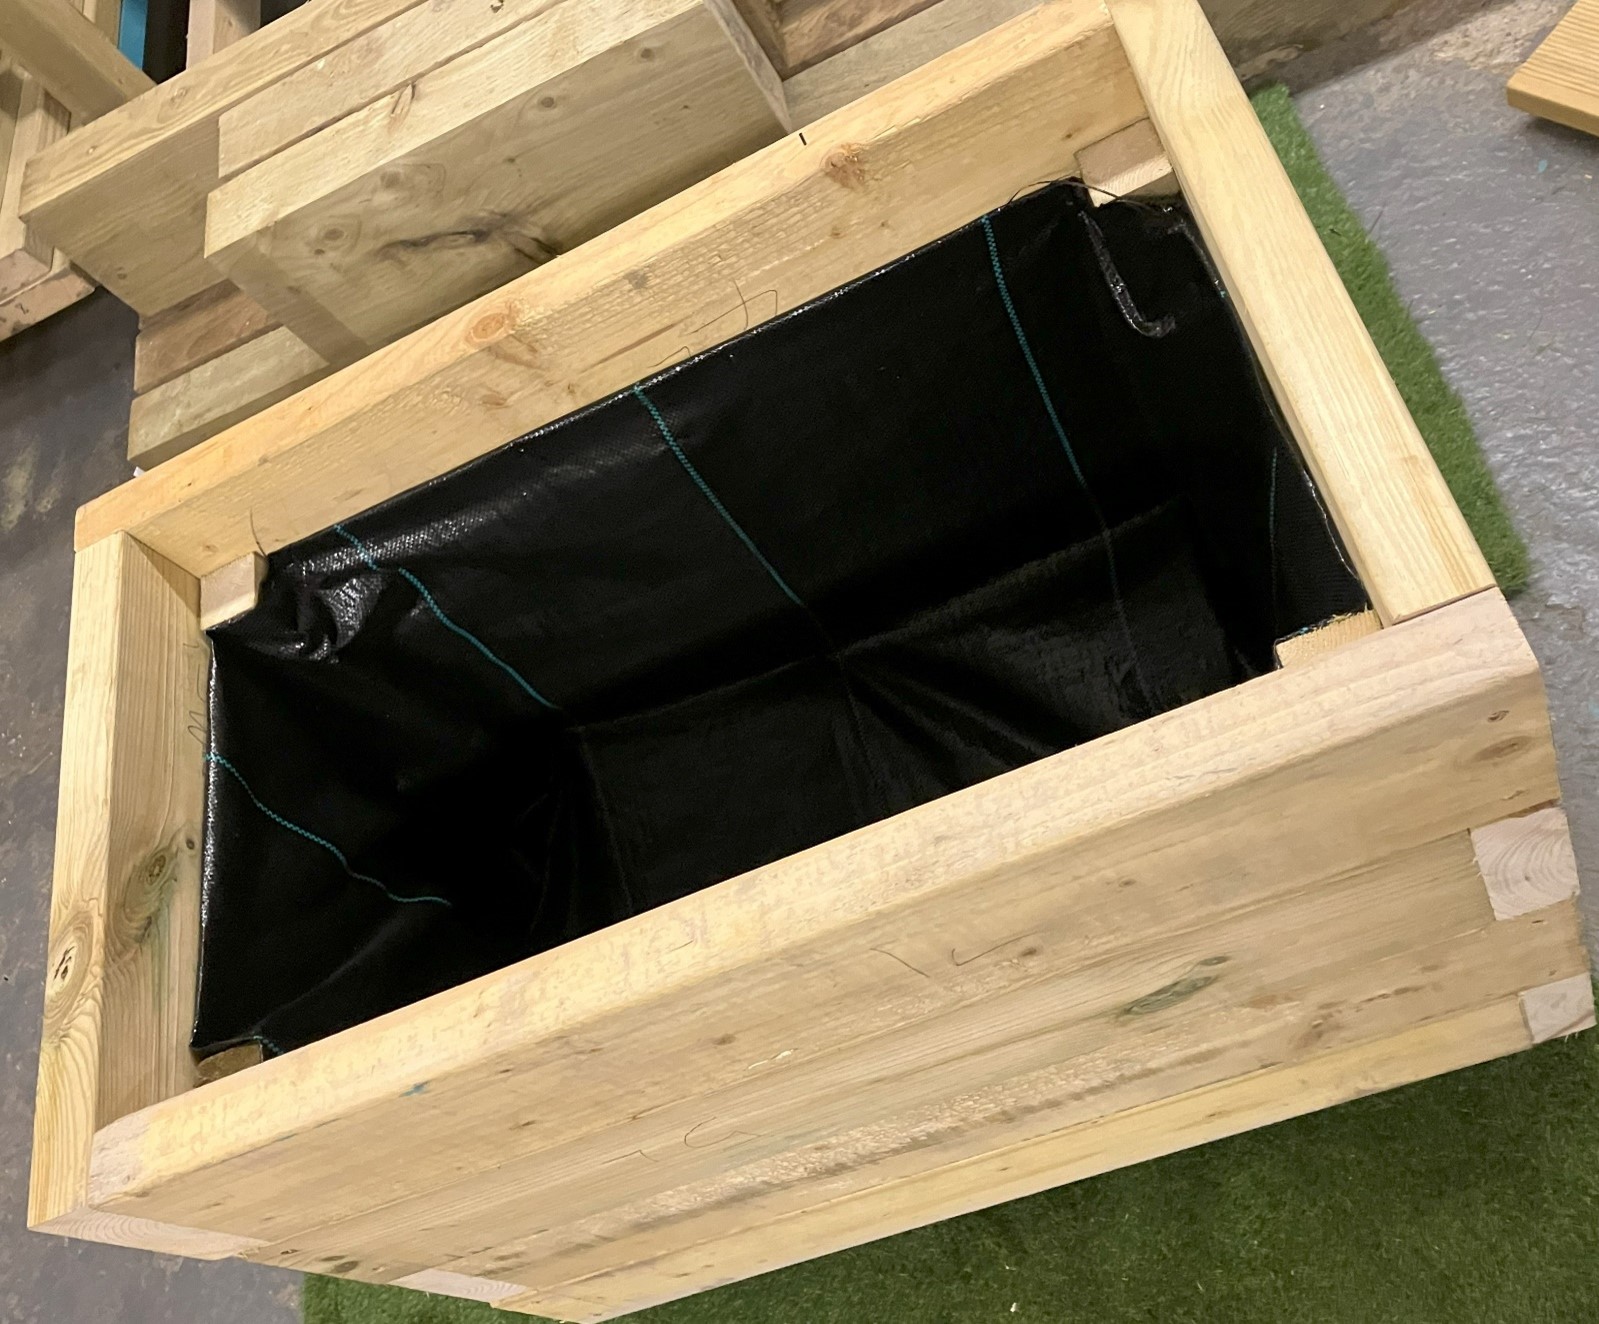
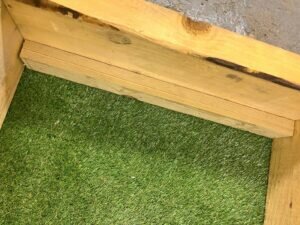
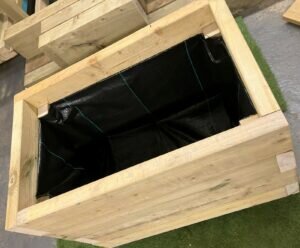
Step 5: Lining
I’ve used weed membrane which I’ve stapled neatly in place.
Step 6: Attach the castor wheels or feet
First, invert your planter. I like to try to hide my wheels as much as possible. If you want to do the same, then make sure you insert the batoning for the base to sit on slightly higher inside the planter to allow for around two-thirds of the wheel height to be hidden from view. Also, if you’ve chosen wheels that turn then make sure you attach them with enough space away from each corner to allow the wheels to fully turn.
Step 7: Finishing Touches
Sand any rough edges to prevent splinters. You could even plug your screw holes with dowels which you can glue and knock into the holes and then cut off any protruding bits flush to the planter.
If desired, paint or stain your planter to protect it from the elements and to fit your aesthetic. Cuprinol does some amazing outdoor timber paint in a variety of great colours.
Step 8: Position
Move your new planter to its new home.
Step 9: Filling
To help with drainage, and so you don’t have too much heavy soil in your planter, it’s advisable to line the base with bulky items such as stones and broken bricks, or lightweight items such as recycled plastic bottles or containers. Then fill the rest of the planter with suitable soil and compost, almost to the top. I find water-retaining compost much better than standard compost. It is a little more expensive but it does help with moisture retention, especially in the hotter parts of summer.
Step 10: Planting
Choose plants that are suitable for the size of the planter and the available sunlight. Plant them at the appropriate depth and water well. You can find information on how to plant different plants and flowers here.
Step 11: Maintenance
Regularly check your plants for water needs and enjoy the process of nurturing them as they grow!
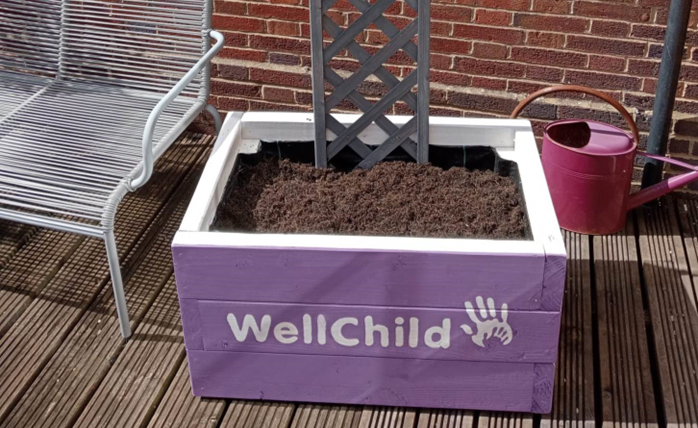
See the finished product below!

Remember, the key to a successful DIY project is patience and precision. Take your time with each step, and don’t hesitate to seek out resources or advice if needed. There are many detailed tutorials available online that can provide additional guidance and tips for customizing your wooden planter. Happy building and happy gardening!
Why not get your children involved and make it a team effort? From measuring materials to painting & decorating, children can make their own unique family designs.
If you have any comments, ideas, or suggestions about this article please contact us at [email protected]
Please don’t forget to leave feedback on this article by clicking the tab to the right of the page!
Roger Merritt, Project Manager
Kathy Gibson, Digital Information Officer
First published: July 2024
Review due: July 2025
